
How to import properties from Street CRM to WordPress
Table of Contents
Table of Contents
Already using Street CRM? Property Hive connects it to your WordPress website, automatically importing your property listings and keeping your site up to date. Simply manage your properties in Street as you normally would, while your website reflects the latest changes in the background.
How does Street CRM integrate with WordPress?
Property Hive connects your Street CRM to your WordPress website using Street’s API. Once connected, your property listings are imported automatically, so you only ever need to manage them in Street.
Add a new property, update a price or mark a listing as sold in Street, and Property Hive takes care of updating your website in the background.
What gets imported from Street CRM?
When you publish a property on your website, you want it to look exactly as it does in Street. Property Hive automatically imports everything from property details and prices to images and features, so you only ever need to manage your listings in Street.
That means you can continue managing your listings in your CRM, knowing that your website will always reflect the latest changes.
How do I connect Street CRM to WordPress?
1. Install Property Hive and Property Hive Import
Before you begin, you’ll need the free version of Property Hive installed on your WordPress website, along with Property Import. Property Import is available as part of our Import and All Features packages, with a free 7-day trial.
You can complete the setup yourself using the guide below at no extra cost, and we’re always here if you need any help.
If you haven’t already, install Property Hive and start your free trial of the Property Import feature before continuing with the steps below.
Download Property Hive for free
Start your free 7 day import trial
2. Generate your Street API key
Before Property Hive can connect to Street, you’ll need to generate an API key from your Street account.
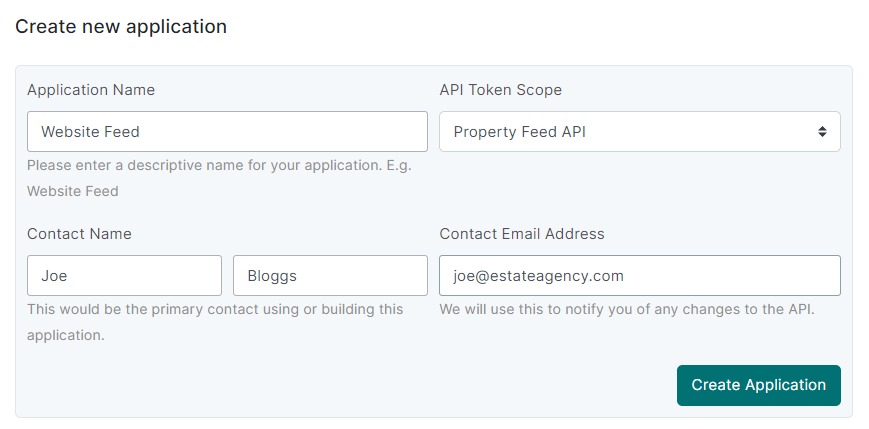
Log into your Street customer area and navigate to Settings > Applications > Create new application
When completing the form, make sure you choose Property Feed API as the API Token Scope.
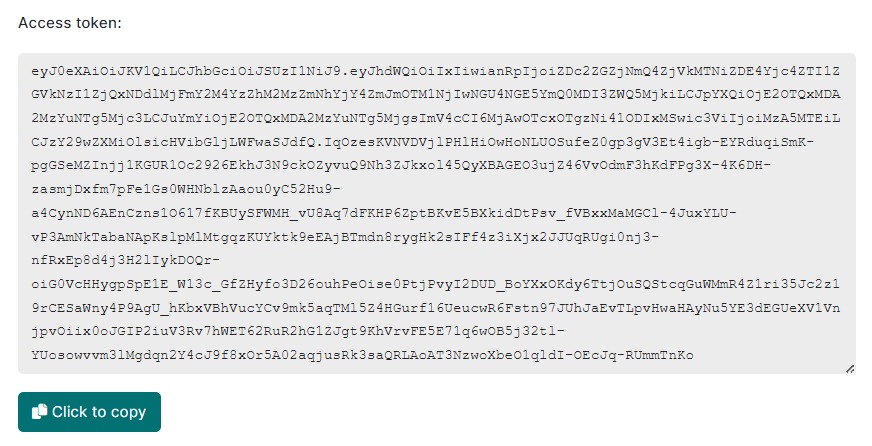
Once you’ve created the application, Street will generate an API key. Keep this handy as you’ll need it in the next step.
3. Start the set up wizard
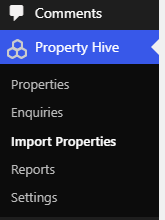
With Property Hive and your Street API key ready, head to Property Hive > Import Properties in your WordPress dashboard and launch the setup wizard.
4. Create your new import
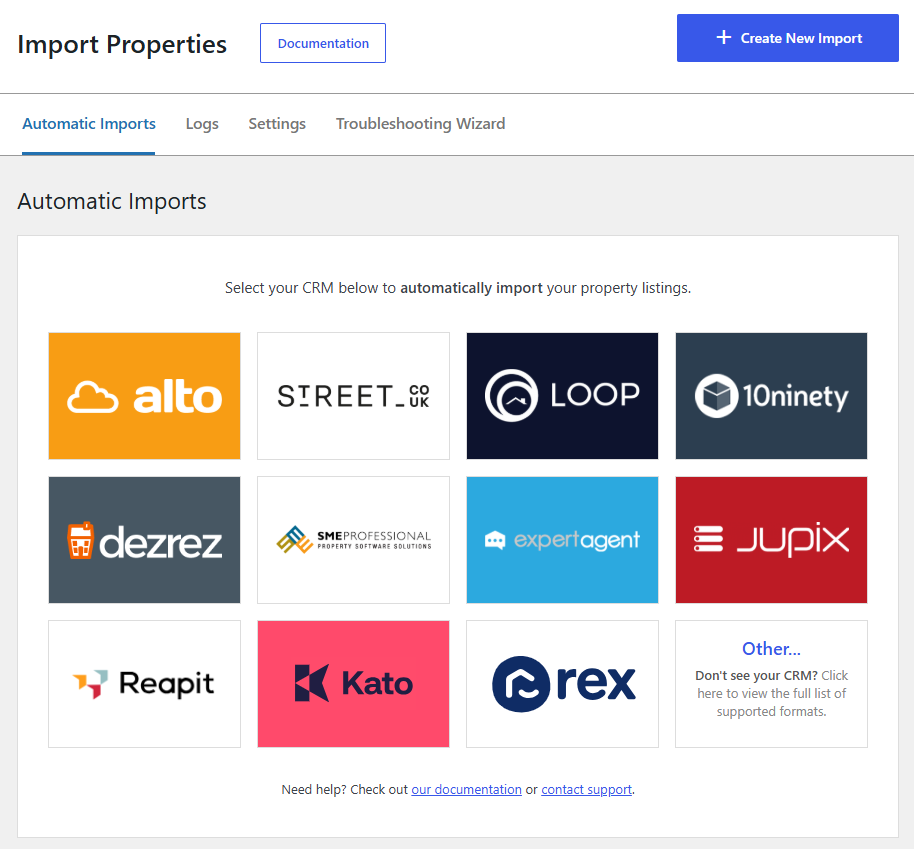
Click Create new import or select the Street logo to start creating your Street import.
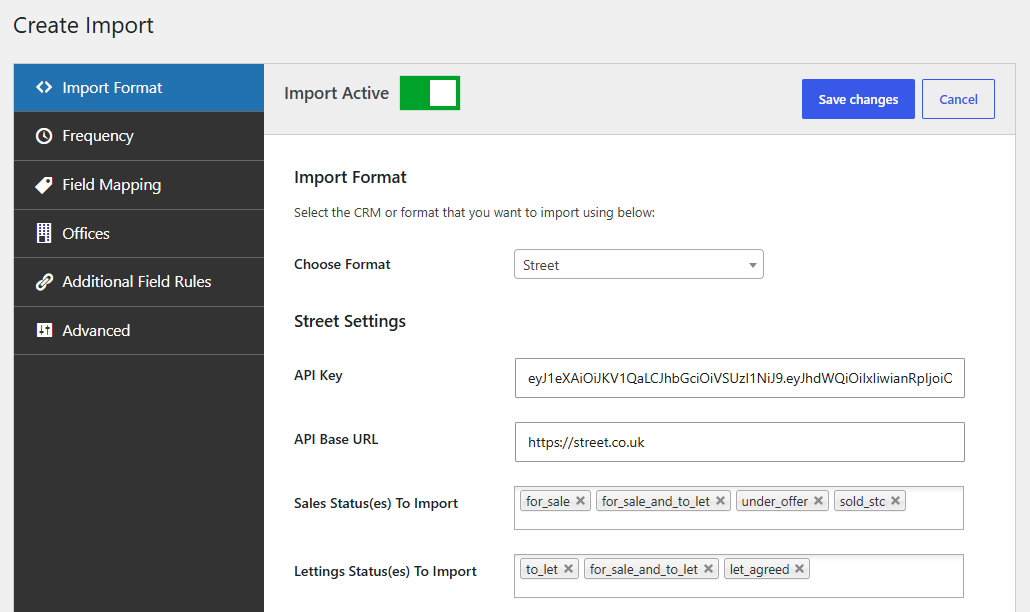
5. Choose Street and enter your API Key
From the list of available formats, choose Street API and paste in the API key you generated earlier.
6. Choose how often to import properties
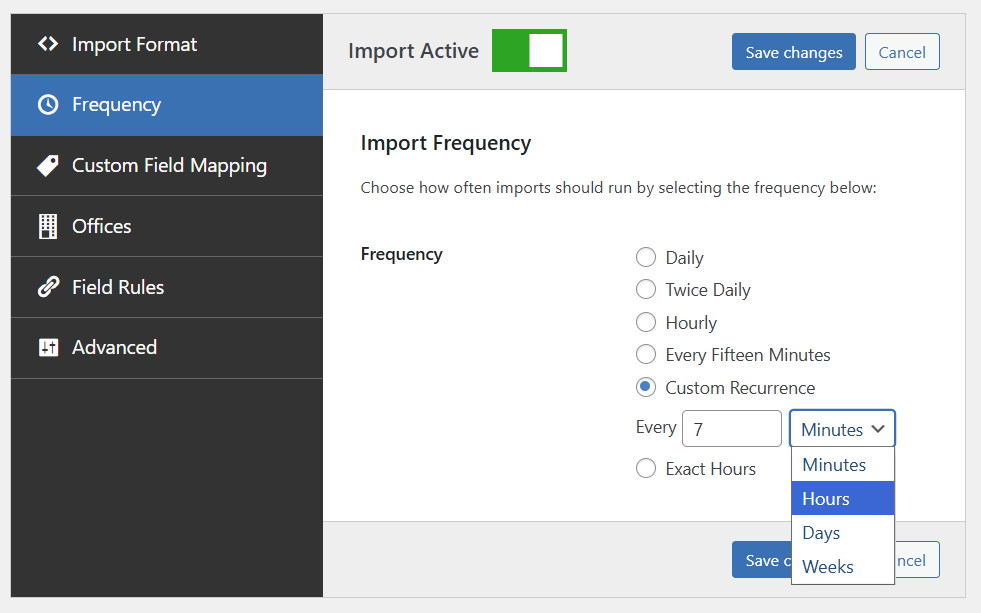
Choose how often you’d like Property Hive to check Street for changes.
You can schedule imports as often as every fifteen minutes, or create a custom schedule using a set number of minutes, hours, days or weeks.
7. Map your custom Fields
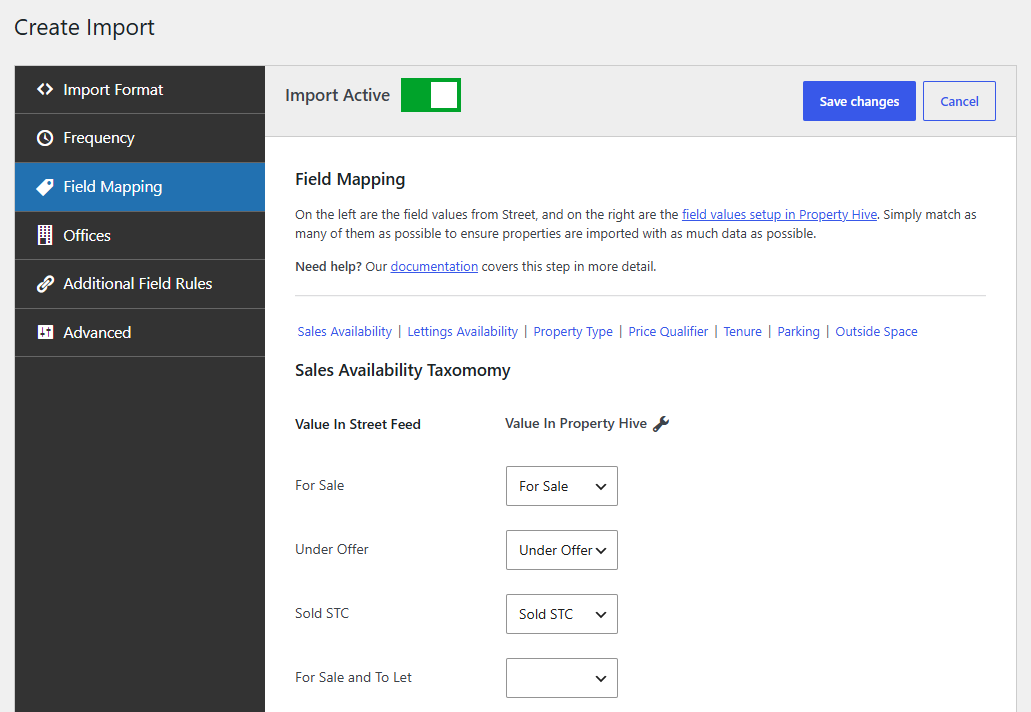
Finally, you’ll be asked to map any custom fields used in Street, such as property types, availability and other bespoke values.
This ensures data imported from Street matches the options you’ve already configured in Property Hive.
What happens after setup?
Once everything is set up, Property Hive will continue importing your properties automatically in the background.
Add a new property, change a price or update a listing in Street, and your website will reflect those changes next time an import runs.
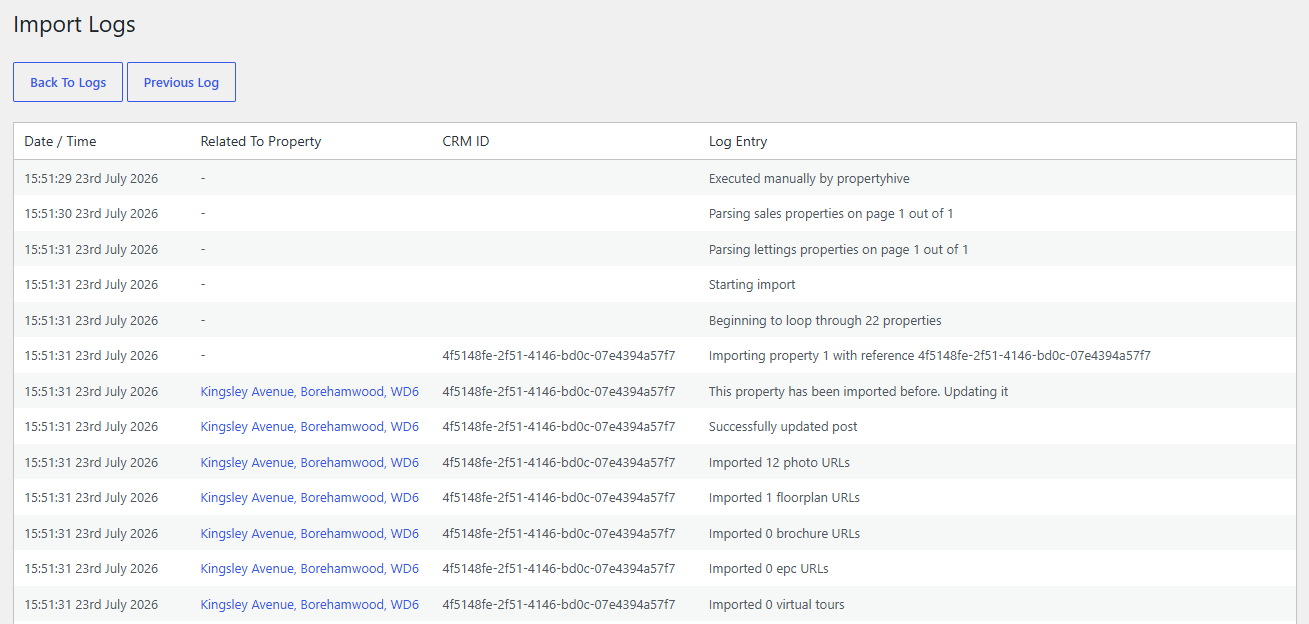
You can also review detailed import logs at any time, making it easy to see when imports ran, how many properties were updated and whether any issues need your attention.
Send website enquiries back to Street
As well as importing your properties from Street, you can also send enquiries from your website back to Street.
This keeps your property data and enquiries together in one place, so there’s no need to manage them separately.
Website enquiry exports are available with both our Import and All Features packages.
Start your free trial today
FAQs
Can I still manage my properties in Street?
Yes. Property Hive imports your property listings from Street automatically, so you can continue managing everything in Street while your WordPress website stays up to date in the background.
Do I need to install anything in Street?
No. Simply generate an API key in Street and connect it to Property Hive using the setup wizard. There’s no additional software to install within Street itself.
Is there a setup fee to connect Street to WordPress?
No. There’s no setup fee to connect Street to your WordPress website using Property Hive. Simply follow the guide above to complete the setup yourself, and if you need any help, our support team is here to assist.
What information is imported from Street?
Property Hive imports your property details, prices, images, features and other listing information, helping ensure your website reflects the latest information stored in Street.
How often can Property Hive import properties from Street?
You decide. You can schedule imports as often as every fifteen minutes, or create a custom schedule using a set number of minutes, hours, days or weeks.
Do I need a Street API key?
Yes. Before Property Hive can connect to Street, you’ll need to generate an API key from your Street account. The setup guide above shows you exactly where to find it.
What happens when I update a property in Street?
When you add a property, change a price or update a listing in Street, Property Hive automatically updates your website the next time an import runs.
Can I send website enquiries back to Street?
Yes. Website enquiries submitted through your Property Hive website can be sent directly back to Street, helping keep your property data and enquiries together in one place.
Can I access my import logs?
Yes. Property Hive creates a detailed log every time an import runs, showing when the import took place, how many properties were imported or updated, and whether any errors occurred.
My CRM isn’t Street. Can I still use Property Hive?
Property Hive works with a wide range of estate agency CRMs. If your CRM isn’t currently supported, get in touch and we’ll see if we can help.
How do I get support?
Customers on our Import and All Features packages receive priority support. Simply get in touch using our support form and we’ll be happy to help.